Want to give your windows – and your whole room – a sophisticated upgrade? Back tab curtains are the perfect choice! They’re surprisingly easy to hang, offer a clean, tailored look, and elevate any space. This expert guide will show you how to select the best curtains for your needs, choose the right rod, and install them flawlessly. We’ll cover everything from fabric selection to precise measurements and care tips, so you can confidently create a beautiful, finished look that reflects your personal style. Let’s get started!
Back Tab Drapes: Your Expert Guide to Stylish Windows
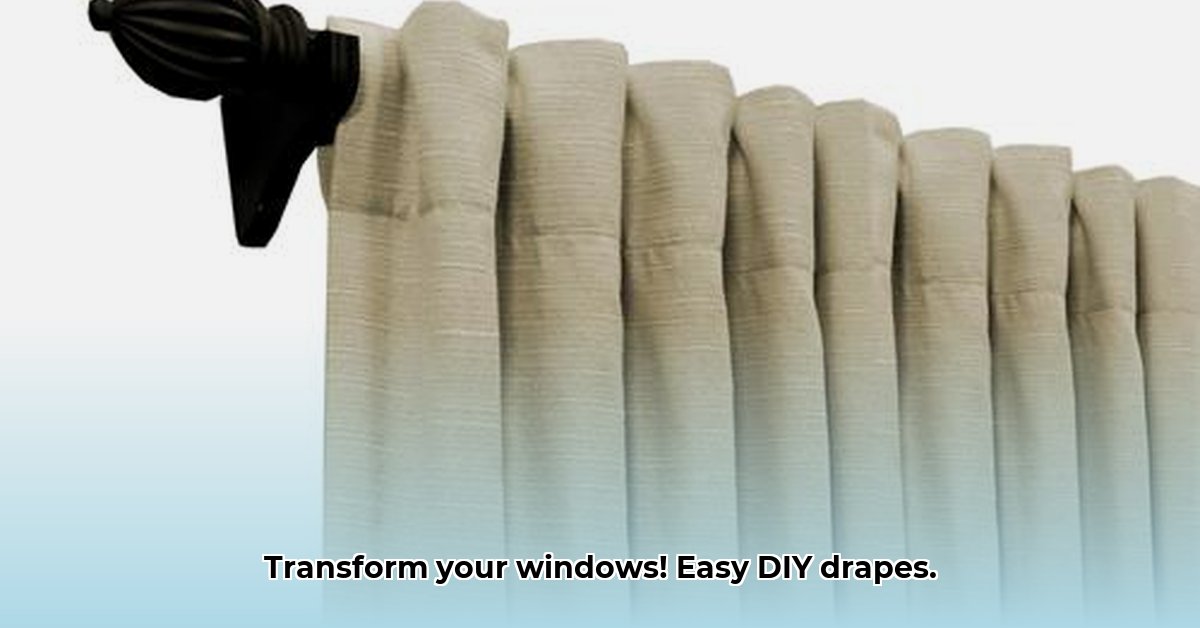
Ready to transform your windows into stunning focal points? Back tab drapes are a superb and surprisingly simple way to add elegance, personality, and a touch of modern sophistication to any room. They’re versatile, relatively easy to install, and offer a clean, contemporary aesthetic that complements a variety of décor styles. However, with countless options available, selecting the right drapes and hardware can feel overwhelming. Let’s navigate the details together, step-by-step, by exploring how to choose the perfect drapes for your individual space and preferences.
Selecting the Perfect Back Tab Drapes: Fabric, Style, Color, and Size Considerations
Choosing drapes involves carefully considering several key factors: the fabric, the style, the color, and, of course, obtaining precise measurements. Understanding these elements is crucial for selecting the perfect back tab drapes that will enhance your room’s overall ambiance.
First, let’s consider the fabric. The material significantly influences the drape’s appearance, light filtration, and durability. Linen drapes, for instance, exude a relaxed, airy charm – ideal for a bright living room, sunroom, or dining area where you desire a light and breezy atmosphere. While they tend to wrinkle easily, contributing to that casual, lived-in feel, they are also remarkably breathable and offer a touch of understated elegance. Velvet, conversely, is a luxurious, heavier choice that introduces a sense of opulence and sophistication. Its substantial weight and rich texture make it ideal for blocking out light and noise in a bedroom, home theater, or formal dining room. It’s also wonderfully warm and cozy for creating inviting spaces during cooler seasons. Cotton provides a reliable middle ground; it’s durable, relatively easy to care for, and is available in a vast array of colors and patterns, making it a versatile option for almost any room. Silk drapes offer a luxurious sheen and beautiful drape, perfect for formal living rooms or bedrooms, but they require professional cleaning and are less durable than other options. Each fabric has unique care instructions, so be sure to carefully review the label before washing or dry cleaning.
Next, let’s explore style. Sheer drapes are excellent if you wish to maximize natural light while maintaining a degree of privacy. They impart a delicate, ethereal touch and are particularly well-suited for living rooms, dining rooms, or kitchens. Blackout drapes, as their name implies, are indispensable for bedrooms or any space where you need complete control over light levels. They are ideal for ensuring a restful night’s sleep or creating an optimal viewing environment for movie nights. Then comes the creative part: selecting a pattern or solid color. A bold, patterned drape can inject personality, visual interest, and a focal point into a room, while a solid color offers a more subdued, refined elegance. Carefully consider your existing décor, desired ambiance, and the overall aesthetic you wish to achieve. Do you prefer drapes that seamlessly blend into the background or ones that make a striking statement?
Color also plays a crucial role. Light and airy colors like whites, creams, and pastels can make a room feel larger and brighter, while darker colors like navy, gray, or deep jewel tones can add warmth and drama. Consider the existing colors in your room and choose drapes that complement or contrast them in a pleasing way.
Finally, and this is paramount: accurate measurements. Before you even begin browsing, arm yourself with a reliable measuring tape. Precisely measure the width of your window, then add extra width to each panel to ensure proper fullness and attractive, even folds. The general rule of thumb is to add at least 2 to 2.5 times the width of your window. For example, if your window measures 40 inches wide, you’ll likely want panels totaling 80 to 100 inches wide. Also, carefully measure the desired length from the rod to where you want the drapes to fall. Remember to factor in the length of the back tabs themselves, as they typically add a couple of inches to the overall length. Inaccurate measurements can result in drapes that are too short, too narrow, or ill-fitting, so take your time, double-check everything, and even enlist a second pair of eyes for confirmation.
Selecting the Right Curtain Rod: Strength, Style, Finish, and Size
The curtain rod is an equally crucial element that significantly impacts both the functionality and aesthetics of your window treatment. It must be sturdy enough to support the weight of your drapes without bending or sagging. Heavier fabrics like velvet or blackout materials require a substantially stronger rod than lightweight fabrics like linen or sheer. Here’s a more comprehensive look at different rod materials and their ideal applications:
Rod Material
Pros
Cons
Ideal For
Wood
Classic, elegant, adds warmth and a natural touch to the room, durable, available in various finishes
Can be more expensive, may require more maintenance to prevent warping or cracking in humid environments
Most drapery styles, traditional, rustic, or farmhouse settings
Metal
Strong, versatile styles ranging from sleek and modern to ornate and traditional, easy to clean, rust-resistant options available
Can sometimes appear cold or industrial, may require additional brackets for heavier drapes
Modern, contemporary, industrial, or minimalist styles, suitable for both light and heavy drapes
Decorative Rods
Unique styles with ornate finials and embellishments, add personality and visual interest, available in various materials
May not be as sturdy as standard rods, often have a limited weight capacity, can be more expensive
Lighter drapes, rooms where the rod serves as a focal point, eclectic or bohemian décor
Acrylic/Resin
Lightweight, available in a wide range of colors and shapes, adds a modern and playful touch
Not as strong as wood or metal, best suited for lightweight curtains
Contemporary or minimalist settings, children’s rooms, sheer or lightweight curtains
The finish of the rod should also complement your drapes and hardware. Common finishes include brushed nickel, antique bronze, matte black, and polished brass.
Remember that your rod should be slightly wider than your window frame, typically extending 6-12 inches on each side. This allows the drapes to be fully drawn open, maximizing natural light and preventing them from obstructing the window. It also creates a more visually appealing and balanced appearance. Choosing the right curtain rod involves carefully considering window dimensions, drape weight, and overall aesthetic cohesion.
Installing Your Back Tab Drapes: A Detailed, Step-by-Step Guide
Now for the rewarding part – installing your beautiful new drapes and witnessing the transformation of your space! With back tab drapes, installation is refreshingly straightforward. Here’s a detailed, step-by-step guide to ensure a professional-looking result:
Gather Your Tools and Materials: Before you begin, assemble all the necessary tools and materials:
Measuring tape
Pencil
Stud finder (optional but highly recommended)
Level
Drill with appropriate drill bits
Screwdriver
Screws and wall anchors (if not attaching directly to studs)
Ladder or step stool
Locate Wall Studs (Optional but Highly Recommended): Employ a stud finder to precisely locate the wall studs situated above your window. Securing the mounting brackets directly to the studs provides the most robust and reliable support, particularly for heavier drapes. This step is crucial for preventing the brackets from pulling away from the wall over time.
Determine Bracket Placement: Carefully measure and mark the positions for your brackets, ensuring they are perfectly level. The distance between the brackets should be appropriate for the length of your rod and the weight of your drapes. Consult the rod manufacturer’s instructions for specific recommendations.
Install the Brackets: If attaching to studs, pre-drill pilot holes through the marked locations to prevent the wood from splitting. If attaching to drywall, use appropriate wall anchors to provide secure support. Then, firmly attach the brackets to the wall using screws. Ensure the brackets are securely fastened and can withstand the weight of the drapes.
Insert the Rod: Carefully slide the rod through the back tabs of your drapes, distributing the fabric evenly. Then, gently lift the rod and insert it into the mounted brackets. Ensure the rod is securely seated in the brackets and is perfectly level.
Hang the Drapes: This is the simplest and most satisfying part! Simply loop the back tabs over the rod, ensuring the drapes are evenly spaced and hanging smoothly.
Adjust and Admire: Arrange the panels evenly, gently pleating the fabric to achieve the desired fullness and drape. Step back and admire your handiwork! Make any necessary adjustments to ensure the drapes hang perfectly and create the desired aesthetic.
Troubleshooting Tips:
Uneven Hanging: Carefully double-check your bracket placement to ensure they are perfectly level. If they are not, carefully reposition them and re-hang the drapes.
I specialize in job and education trends. With a passion for career development and lifelong learning, providing insightful content on industry changes, skill development, and professional growth. Through well-researched articles, to help readers navigate the ever-evolving job market and make informed decisions about their education and career.